yangyt96.github.io
PetaLinux on Windows 10 with WSL
Normally, if you want to run PetaLinux on Windows 10 machine, it is required to run Linux in VirtualBox. However, Windows Subsystem Linux 2 (WSL2) has solved this problem, and the performance of running PetaLinux has increase greatly instead of running it on a virtual machine.
I will share the installation guide and the step that how I run PetaLinux on Windows 10 machine without VirtualBox.
The version of PetaLinux that I will be using is 2018.3 and the full PetaLinux-2018.3 reference guide is at here.
Prerequisite
-
Install WSL2. Please follow this guide from step 1 until step 5.
-
Download and Install Ubuntu-16.04.6.
If you are using the other version of PetaLinux, you will need to install its supported version of Linux OS. Here, you can choose different version of Ubuntu that you can install.
Notes: According to the manual, the supported OS for PetaLinux-2018.3 are Ubuntu Linux 16.04.3, 16.04.4 (64-bit). However, windows only provides WSL Ubuntu-16.04.6, but it still works for me. So, use it at your own risk.
-
Install and run VcXsrv on you Windows 10 machine.
Notes: This step is required, because a windows will pop up while executing petalinux.
-
Add the following line into the file ~/.bashrc of the installed WSL2-Ubuntu-16.04.6. Checkout this solution.
export DISPLAY=`grep -oP "(?<=nameserver ).+" /etc/resolv.conf`:0.0
Installation
1. Download petalinux-2018.3.
2. Open Ubuntu-16.04.6 terminal
3. Add system architecture and update you sudo apt.
dpkg --add-architecture i386
sudo apt update
4. Install the environment for petalinux:
sudo apt-get install -y gcc git make net-tools libncurses5-dev tftpd zlib1g-dev libssl-dev flex bison libselinux1 gnupg wget diffstat chrpath socat xterm autoconf libtool tar unzip texinfo zlib1g-dev gcc-multilib build-essential libsdl1.2-dev libglib2.0-dev zlib1g:i386 screen pax gzip
5. Make directory to install petalinux:
mkdir -p ~/petalinux/2018.3/
6. Install petalinux:
<PATH-TO-PETALINUX-INSTALLER>/petalinux-v2018.3-final-installer.run ~/petalinux/2018.3
Notes: The error related to tftp server will occur, and I’m ignoring this, because I’m not using the tftp server on WSL2 to transfer file to my fpga.
Run PetaLinux
1. Source the petalinux, create the petalinux project and get the hardware description of your vivado project.
source ~/petalinux/2018.3/settings.sh
petalinux-create --type project --template zynq --name peta_project0
cd peta_project0
petalinux-config --get-hw-description <PATH-TO-VIVADO-PROJECT>/project_*.sdk/
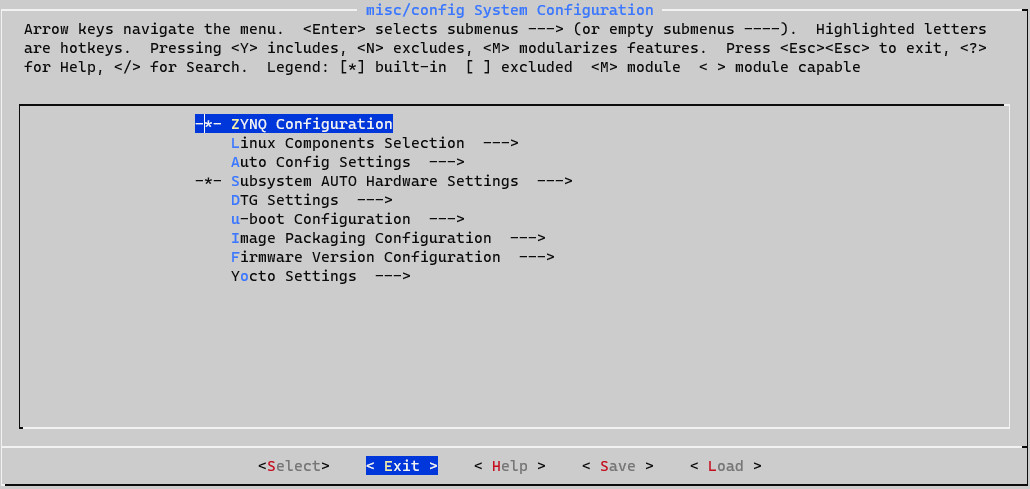
A system configuration will pop up and exit it.

2. Build and package the BOOT.BIN & images.ub file.
petalinux-build
petalinux-package --boot --format BIN --fsbl images/linux/zynq_fsbl.elf --u-boot images/linux/u-boot.elf --fpga images/linux/system.bit --force
References
- https://www.xilinx.com/support/documentation/sw_manuals/xilinx2018_3/ug1144-petalinux-tools-reference-guide.pdf
- https://stackoverflow.com/a/43399827/10058074
- https://docs.microsoft.com/en-us/windows/wsl/install-manual
- https://wiki.debian.org/Multiarch/Implementation
- https://forums.xilinx.com/t5/Embedded-Linux/Installation-of-PetaLinux-in-Windows-10/td-p/1168468
14 Apr 2021 - Yang